Running Ubuntu Server with Microk8s on an Intel NUC

For 25 years, I've always run some kind of server in my home. For me, its the best way to learn new technology. It started back with Windows 2000 Server, which I somehow became a beta tester for (which arrived in a surprise FedEx delivered box of DVDs, books, and swag) through an MSDN membership that I never paid for (but happily used for many years) - thanks Microsoft! I slapped together some hardware I had laying around (maybe bought some new stuff too) and ran my own Active Directory server which had one PC joined to it. It was a start.
Of course my home lab evolved over the years and at some point I started running a Synology Diskstation DS411. I really loved how simple it was to operate but found it to be a little underpowered so around 2018 I upgraded to a DS918+ with 4x14TB Western Digital Red drives (as a 38TB SHR volume) and this device came with built in support for Docker. I was starting to use Docker at work at this time so this was a great way to learn a little more about it. Unfortunately, the built in way to manage your Docker installation via Diskstation is quite bad so I installed Portainer to give me a better interface. While still not perfect, it was a big improvement. I ran Docker containers for things like Plex, MySQL, Homebridge, Home Assistant, Minecraft server for my kids, and other utilities. It was all created via a docker-compose.yml file that I deployed through Portainer's Stacks feature. All in all, this worked really well - but I continued to push the limits of the DS918+ and realized that this machine was underpowered for what I was doing.
Fast forward to today. I decided to invest in a more powerful machine. Admittedly, I did look at a new Synology device first - but honestly, I couldn't justify the cost. While these are great little NAS devices for SMB & homelab users, they typically offer very low performance outside of their core feature requirements.
Take the DS1823xs+ for example. This lists for $1800 and comes with an AMD Ryzen V1780B released in 2018 and 8 GB DDR4 memory. This is true for many of their devices - older CPUs and very little RAM (though most of their devices can be upgraded with expensive ECC RAM but in many cases, up to 32GB max). These are the kind of specs you might find in a budget laptop. Sure - great for a purpose-built NAS, but pretty unacceptable for anything else.
Moving forward
So, I turned my sights on the Intel NUC. Unfortunately these are being discontinued by Intel, and shifting the ongoing support to Asus - but there are still a healthy amount of these on the market. There are so many variations of these things out there and it can be a little daunting to understand the differences but I didn't want to over-analyze every detail. I knew what I needed and I focused on that. I needed something that had a moderate to high performance CPU with an integrated GPU that could handle 4k encode/decode operations. I wanted to max out the RAM at 64GB and I wanted a fast SSD drive.
After a few days of research, I landed on the Intel NUC 13 Pro RNUC13ANKi7000U which comes with a 13th Generation Intel Core i7-1360P. Luckily, I found a refurbished one on Newegg for $150 less than retail which was definitely opened, but seemed unused. I found this to have the right mix of performance and cost for me and should support my needs for years to come. These tiny devices have very little, if any, room for anything other than RAM and M.2 SSD.
Compare the i7-1360P found in the NUC with the Ryzen V1780B found in the Diskstation (hint: its not even close)
I added 64GB of DDR4-3200 RAM and a 2TB Samsung 990 Pro M.2 SSD. This was the simplest PC build I have ever experienced - assembled in under 5 minutes.
Setting it up
I decided to install Ubuntu Server 23.10 on it which installed in under 10 minutes. I booted this off an old SD card attached to a USB adapter which I had previously flashed with a bootable Ubuntu Server image using BalenaEtcher on my Mac. I didn't have to install any extra drivers or anything - everything just worked. Then came the question: Do I install Docker and Portainer, which I was already familiar with, or do I use this as an opportunity to learn something new.
I try to always be learning, so I said goodbye to Docker and hello to Kubernetes. Ok, admittedly, I have used Kubernetes before, but I never set it up myself. And Ubuntu has built in support for k8s in the form of MicroK8s. Plus the installer asked me during OS installation if I'd like to set this up. It was a no brainer.
Once the server came up, I quickly did a sudo apt upgrade to get everything updated before moving on. Unsurprisingly, there were very few updates available.
kubectl and k9s
MicroK8s has a packaged version of the kubectl command that you can use by prepending like this microk8s kubectl which gives you the standard kubectl support, but in the past, I used k9s to work with k8s clusters. I really like it as a text based GUI and I don't plan to use kubectl for deploying anything (we'll get to that later), so I went ahead and installed k9s from the Snap Store:
$ snap install k9sExport your MicroK8s config
By default, k9s wont find a k8s config in the normal places (~/.kube/config) so we need to export it:
$ mkdir -p ~/.kube
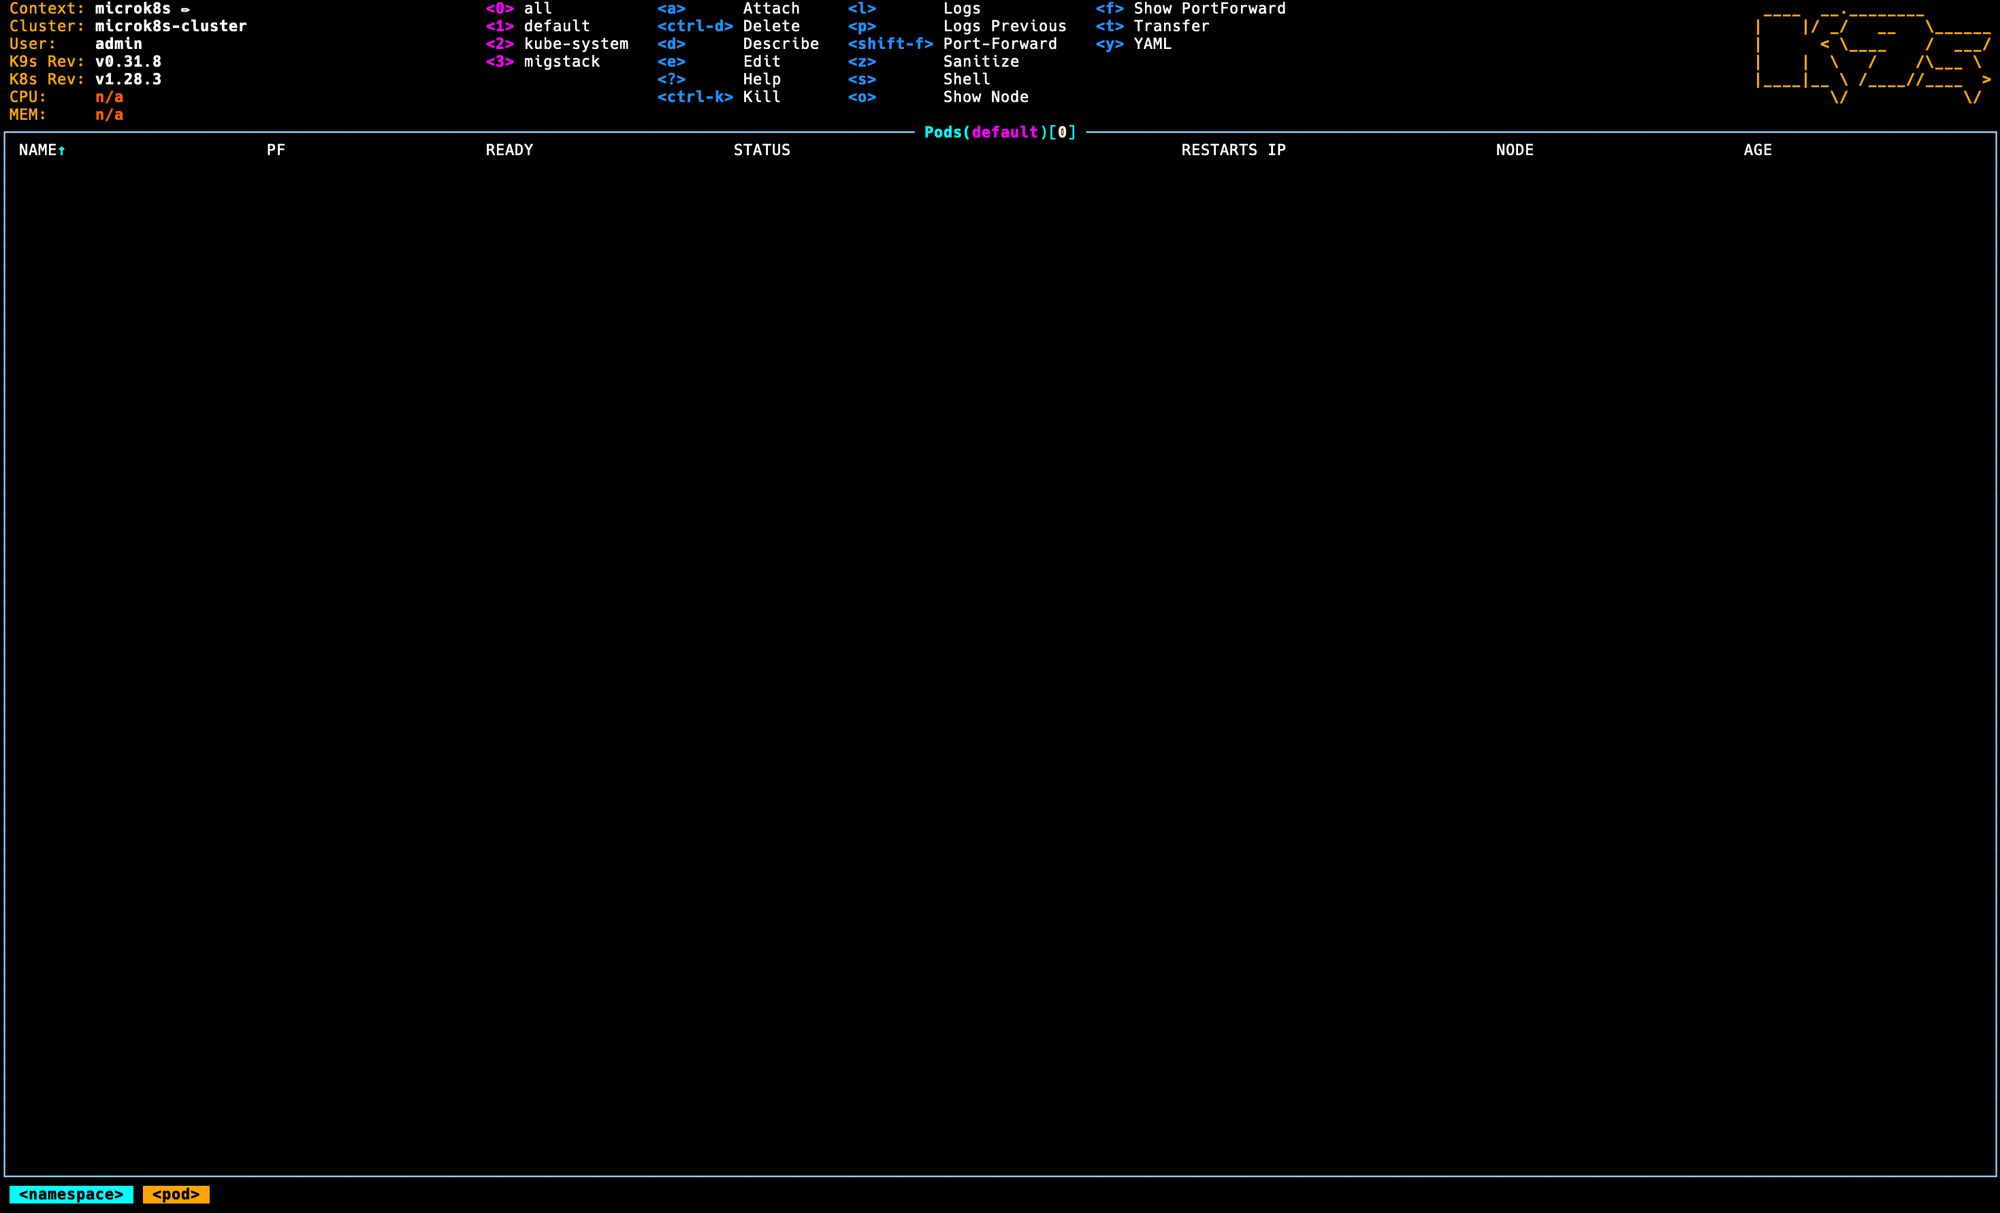
$ microk8s config > ~/.kube/configand now you'll be able to run k9s and should see your microk8s-cluster show up:
Time to deploy some stuff
Of course there are a whole bunch of ways to deploy stuff to your Kubernetes clusters, including kubectl, ArgoCD, Helm charts, Kustomize manifests, Terraform, and more - but my personal favorite is Pulumi.
I've used Pulumi before at a previous company and fell in love with it. Pulumi is like Terraform (in fact, it did, and in some cases still does, leverage Terraform under the hood) in that it is infrastructure-as-code but with the distinct difference that it does not have its own DSL. Instead, you can write your infrastructure in your preferred programming language.
Getting access to the cluster
When you are ready to deploy your code with Pulumi, you'll run the pulumi up command from the machine that has the code on it. I'm writing code and deploying from my Mac so I need to first make sure that it knows where my k8s cluster is, and that it can access it. Since this server is running in my basement and is not accessible by anyone else inside or outside of my network, the simplest thing I could do to get this working was to simply copy the kube config from the server and place it on my Mac. In the future, I would like to explore auth options further.
Create a namespace
Below is an example for how Pulumi can be used to create a new namespace in your cluster, which you'll then use later for creating volumes, deployments, services, and more.
const ns = new k8s.core.v1.Namespace("MyCoolCluster", {
  metadata: {
    name: "MyCoolCluster",
  }
});
Create a deployment
const deployment = new k8s.apps.v1.Deployment("echo-server", {
  metadata: {
    namespace: ns.metadata.name,
  },
  spec: {
    selector: {matchLabels: {app: "echo-server"}},
    replicas: 1,
    template: {
      metadata: {
        labels: appLabels,
      },
      spec: {
        containers: [{
          name: serverName,
          image: "ealen/echo-server:latest",
          ports: [{ containerPort: 3000 }]
        }]
      }
    }
  }
});
Create a service
const service = new k8s.core.v1.Service("echo-server", {
  metadata: {
      namespace: ns.metadata.name,
      name: "echo-server"
  },
  spec: {
      selector: {app: "echo-server"},
      ports: [{
          port: 80,
          targetPort: 3000
      }],
      type: "ClusterIP"
  },
});
Create a volume
Before creating new volumes in a MicroK8s cluster, you need to first enable hostpath-storage which will allow you to provision PersistentVolume resources:
$ microk8s enable hostpath-storageOnce that is enabled, you can provision a PersistentVolumeClaim with Pulumi like this:
const pvc = new k8s.core.v1.PersistentVolumeClaim(
  `my-pvc`,
  {
    metadata: {
      namespace: options.ns.metadata.name,
      name: `my-pvc`,
      annotations: {
        "pulumi.com/skipAwait": "true",
      },
    },
    spec: {
      accessModes: ["ReadWriteOnce"],
      resources: {
        requests: {
          storage: "1Gi,
        },
      },
      storageClassName: "microk8s-hostpath",
    },
  }
);
For a simple volume like this, you only need to create the claim and Kubernetes should automatically create the PersistedVolume for you.
Conclusion
Setting this server up took just about 2 days. That includes the time to install the RAM and SSD, install the operating system, setup Kubernetes via MicroK8s, and write the Pulumi program for deploying my services.
I havent yet done any sort of performance testing but I can say that as expected, my services are running significantly faster than they did when they were in Docker on the Diskstation. Conveniently, the Diskstation also runs faster now that it has fewer things running on it. Its a win-win.
A few hiccups along the way
While it was generally smooth sailing, I did have a couple of things I needed to solve that took some time.
NFS Volumes
Despite having this server running all my services nicely, the Diskstation still has its ~38TB of storage, including all of my media. This was a little tricky at first but it turns out its actually quite easy to mount an NFS volume in your containers. This required me to create both a PersistedVolume and a PersistedVolumeClaim
GPU access
One of my requirements was that the CPU would have an integrate GPU capable of doing 4k encoding. In Docker, you could share the host GPUs to a container but Kubernetes has no built in support for this.
My understanding is that this is a deliberate architectural decision to keep Kubernetes focused on remaining an orchestration platform. Instead, you can install a device plugin to expose a device - in my case the GPU - to containers, and leverage resource requests to ask for device access. It worked wonderfully and gave Plex full 4k transcoding capabilities.
I plan to write another article about this in more detail.